
One Room Challenge - Week 5: Go Green or Go Home

Just joining? Follow along with my previous posts for the One Room Challenge to see the play-by-play of my guest bedroom makeover.
Week 5 was full of so many hits, and a few minor setbacks. The blank slate started getting the first of its many maximalist treatments this week including bold walls, mixing wallpaper prints, and the beginning stages of adding wall design intrigue.
The kind folks at the One Room Challenge did alert us that due to so much going on in the world, with some very obvious ties to delivery like shipping delays and product availability due to the global pandemic are cause for an extension - allowing for room reveals anytime between November 12th (original reveal date) and November 29th. I am going to work my butt off this weekend to finish everything I can, but I may take advantage of the final deadline move due to my terribly planned wallpaper order.
Either way, expect a week 6 post that gets this room as close to the finish line as possible - with potentially some creative angle shots that don’t show (or maybe we just be real and do show) the gaping white hole where there should be accurately planned wallpaper.
Go green or go home


Trim: Whipped (Trim Paint) - Clare
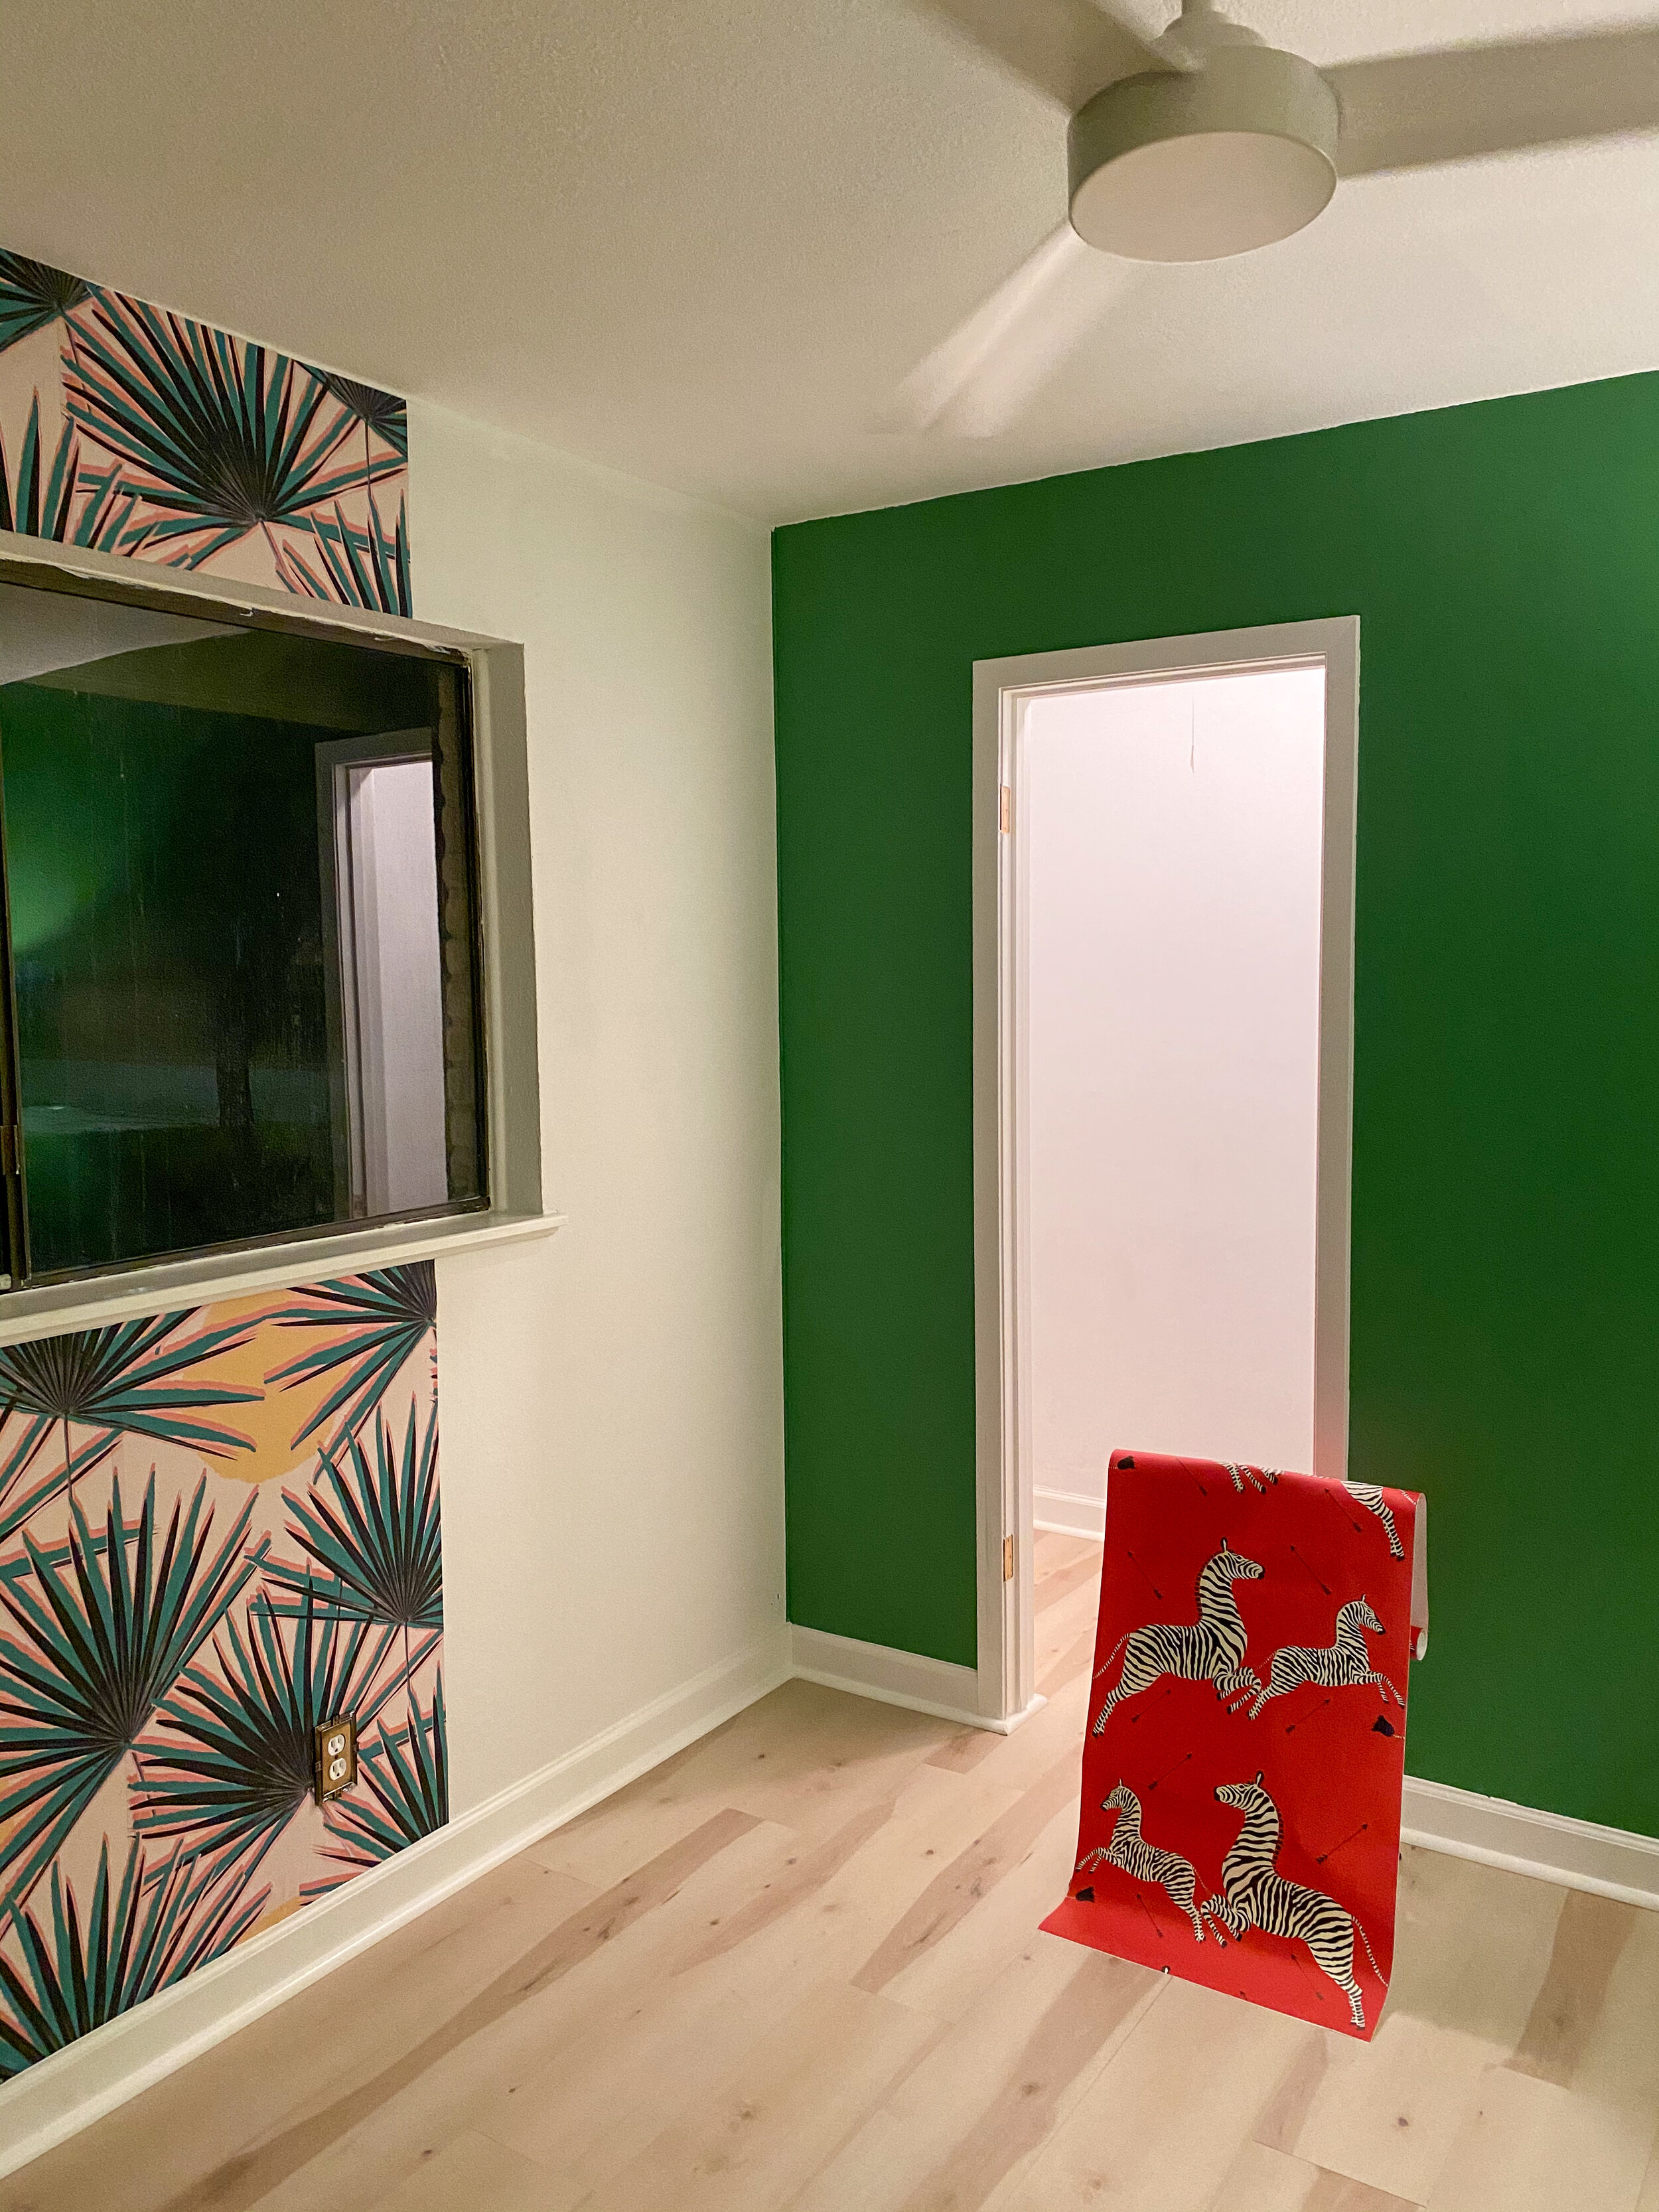
Walls: Matcha Green (Wall Paint) - Clare
Green walls have been keeping me up at night for about two months. As much as I understand the value, I am not the type of person that orders a million samples, painstakingly putting paint chips next to wood and upholstery samples. I do pretty much everything by gut and sometimes have to make edits later due to this trend.
When I sampled Matcha Green on my wall two weeks ago with the paint I already procured, all I could think about was that my room would end up looking like a football field. I even explored swapping the color and ordering an entirely new, less bold, green last minute.
But as I got closer to the finish line, I started making bolder choices. Picking up new prints, adding more color with details and I think this is where I have to start trusting my instincts and not get into my head about being universally palatable.
Trusting that gut, I could not be happier with these walls. The room still feels bright, it plays perfectly with the wallpaper and takes some pressure off needing to fill wall space.
The coverage of Clare paint is amazing. I did two coats on three walls in my guest bedroom and only ended up using one of the two gallons I purchased. I have some more details that will be getting the green paint treatment, so I’m glad I ordered extra. A gallon of paint runs $54 which I think is a more than fair price for the quality and focus on sustainability. If you are someone who samples and measures twice, etc. they have great peel and stick wall samples to experience wall colors before you pull the trigger.
If you want to see another amazing application of the Matcha Green paint by a fellow One Room Challenger, please do yourself a favor and go check out Jasmine Bible and follow her on Instagram for the best in bold, unique DIY design on a budget.
The science of ordering and installing wallpaper

Accent Wallpaper: Palm Deco in Green & Yellow (Peel & Stick) - Samantha Santana
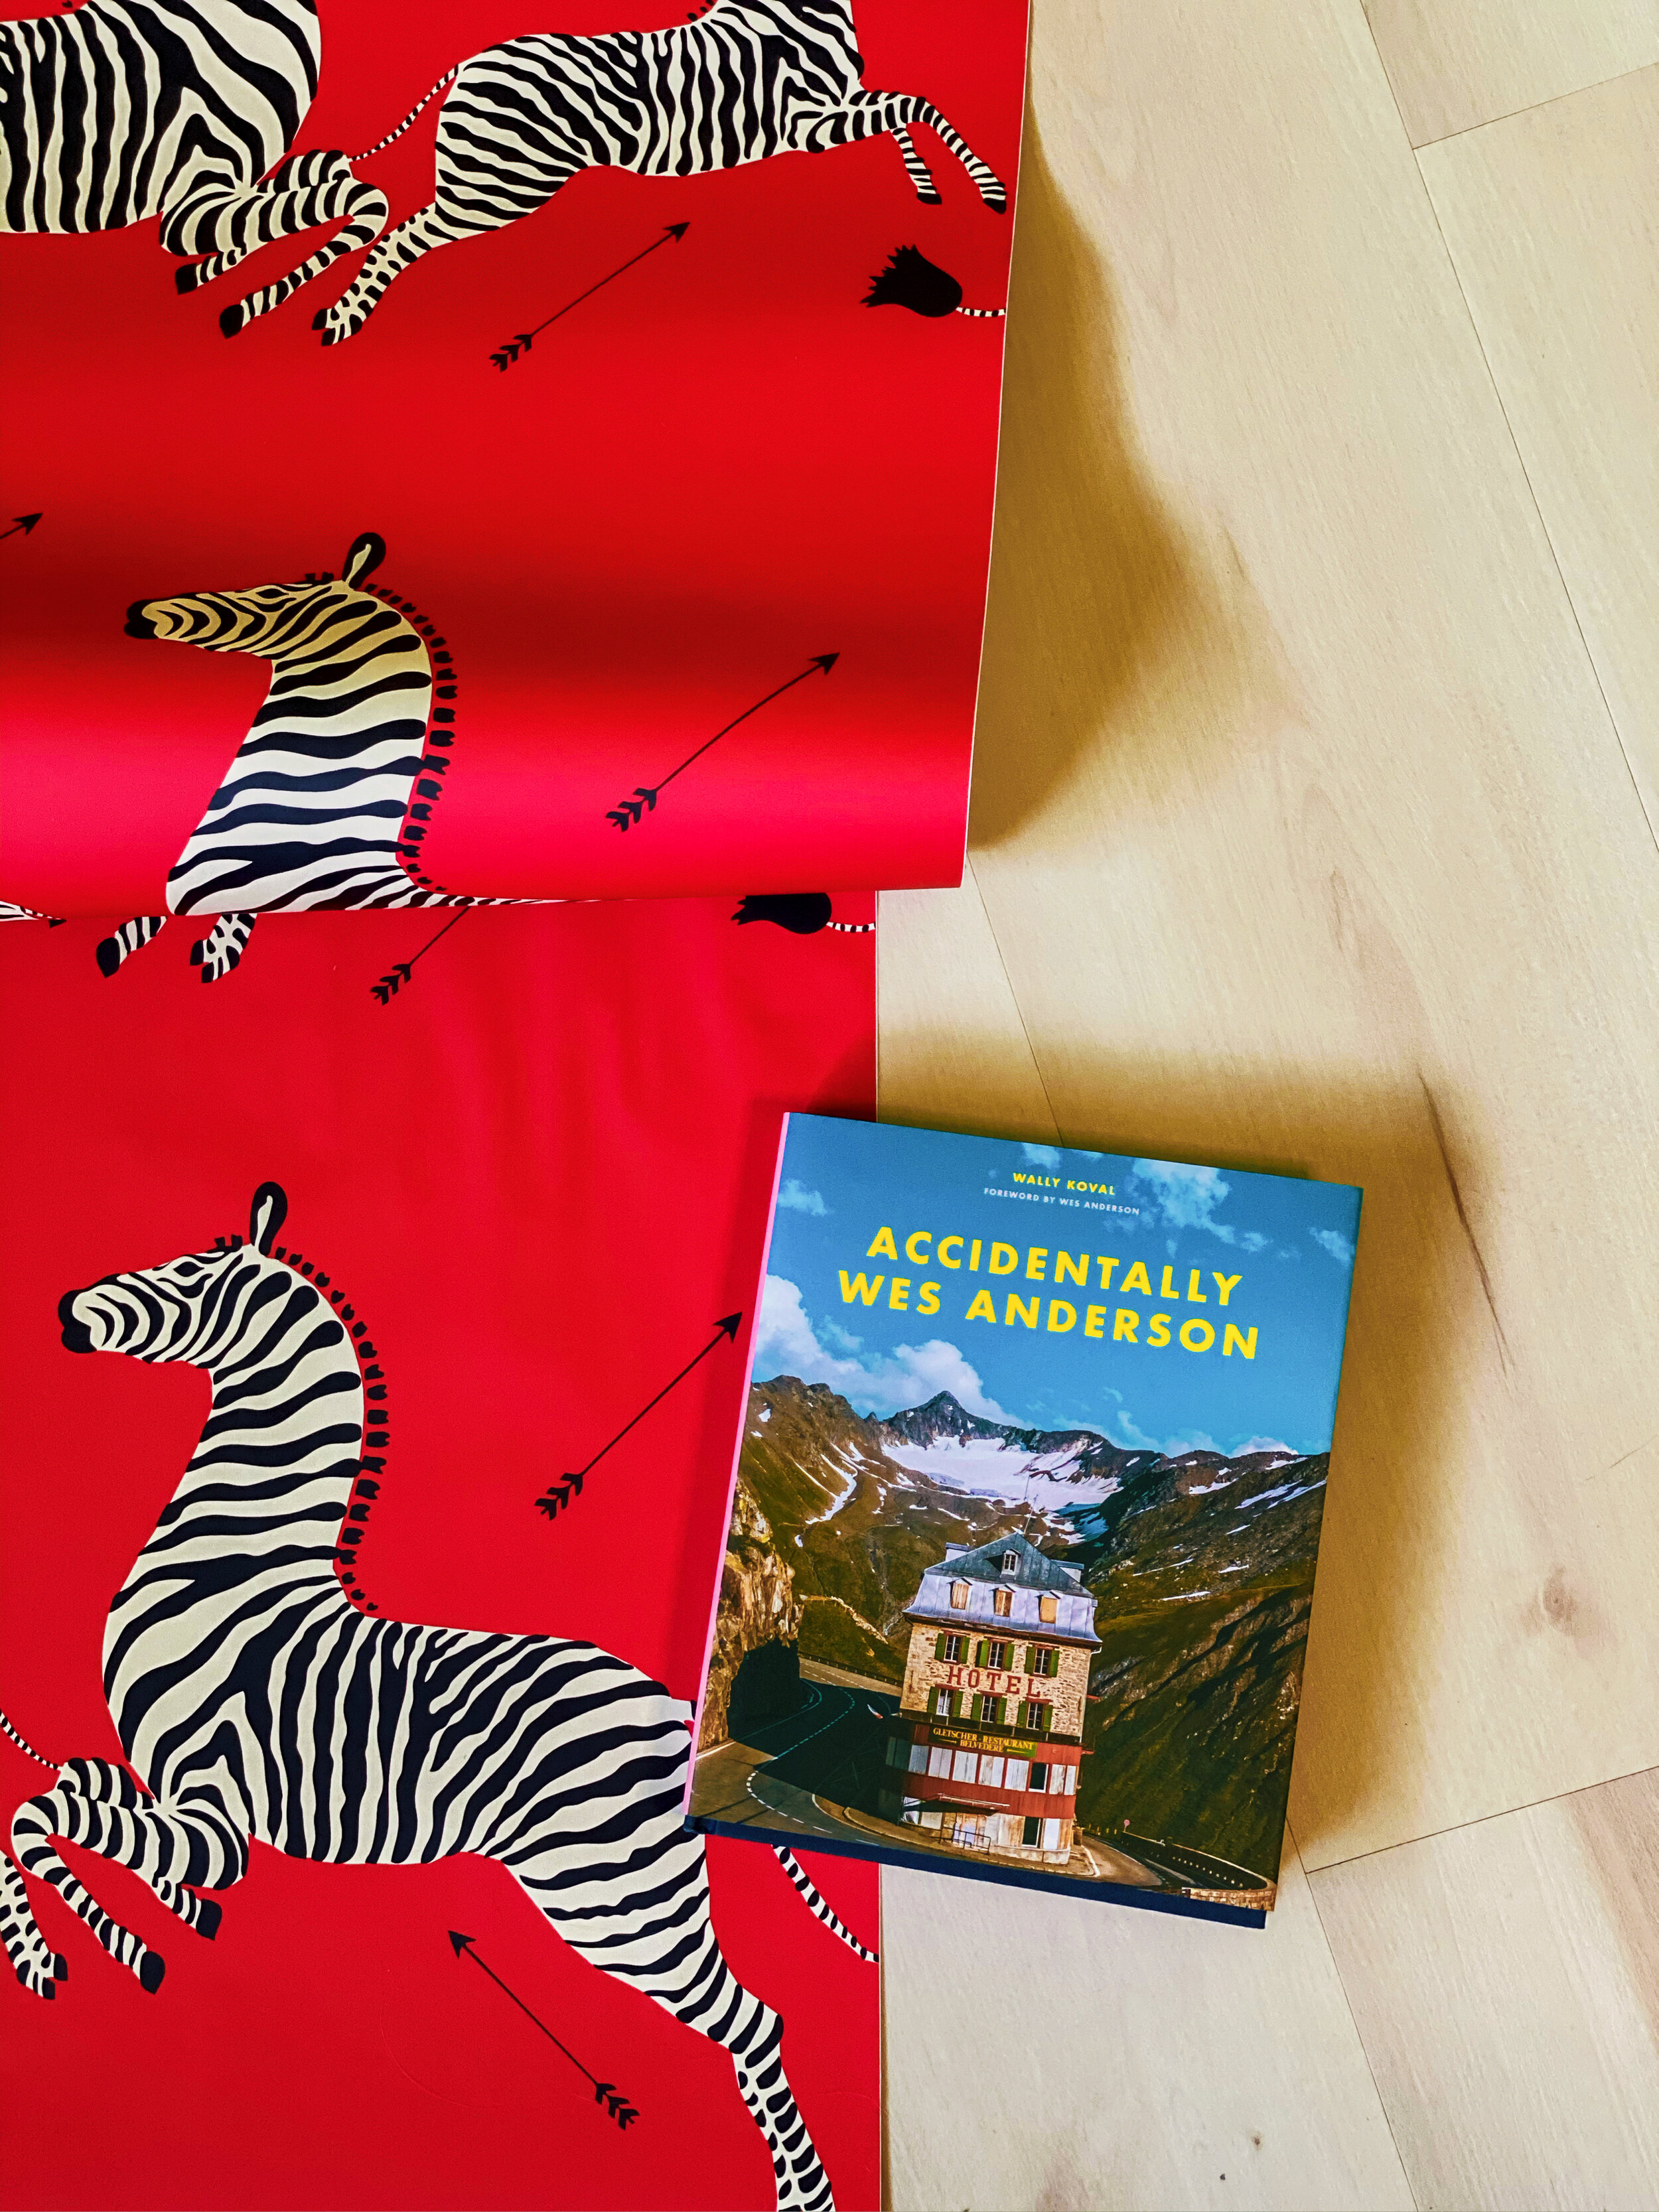
Closet Wallpaper: Masai Red Zebra Safari in Red (Peel & Stick) - Wall Pops
Let me lay it out very clearly: I am my own worst enemy when it comes to ordering supplies. Without fail, I will always under order. I will always do the wrong math. I will cut before I measure. Live and learn.
helpful tips when ordering wallpaper:
Pay attention to how often the pattern repeats and mock-up how this will map to the space where you are installing it
Order 20% extra at least, depending on the repeat and your space you may have even more waste than this - larger prints (see Design Playbook’s amazing crane wallpaper installation with same issue) will be harder to repeat without excess
Measure, use a wallpaper calculator and when in doubt: contact customer service, this is where I went wrong. I love my wallpaper and have had amazing customer service from Samantha Santana and I totally should have sent a note to verify I did the math correctly. This is a great reason to go with a smaller vendor vs. a hardware store for amazing customer service like I have experienced.
lessons learned from first-time peel & stick wallpaper installation:
Key tools: level, pencil, measuring tape, plastic smoother/taping knife, step-stool, extra set of hands, a little bit of patience
Walls should be smooth (see: Skim-coating) and wipe down your walls for a clean surface
A laser level would have been smart and reduced the number of times I had to unstick and reposition, however both Wall Pops and Samantha Santana was easier to reposition than I expected but I would be more careful to not have to reposition multiple times in the future. You can also use a standard level and mark your guide-lines along the wall
Your first panel is key, spend the time to get it right
Plan how the repeat will work before you start peeling and sticking, every other roll may start with a different sequence for matching up - planning will help reduce waste
It worked great to stick the wallpaper and cut against the wall and trim with an exact-o knife, peeling off the excess
A few wallpaper installations I love from this week’s One Room Challenge participants:
Zig & Co. Green Butterfly Bathroom
Handmade Weekly Citrus Blue Pantry
MSV Design Foyer of Cranes
What’s next: the best design details yet to come
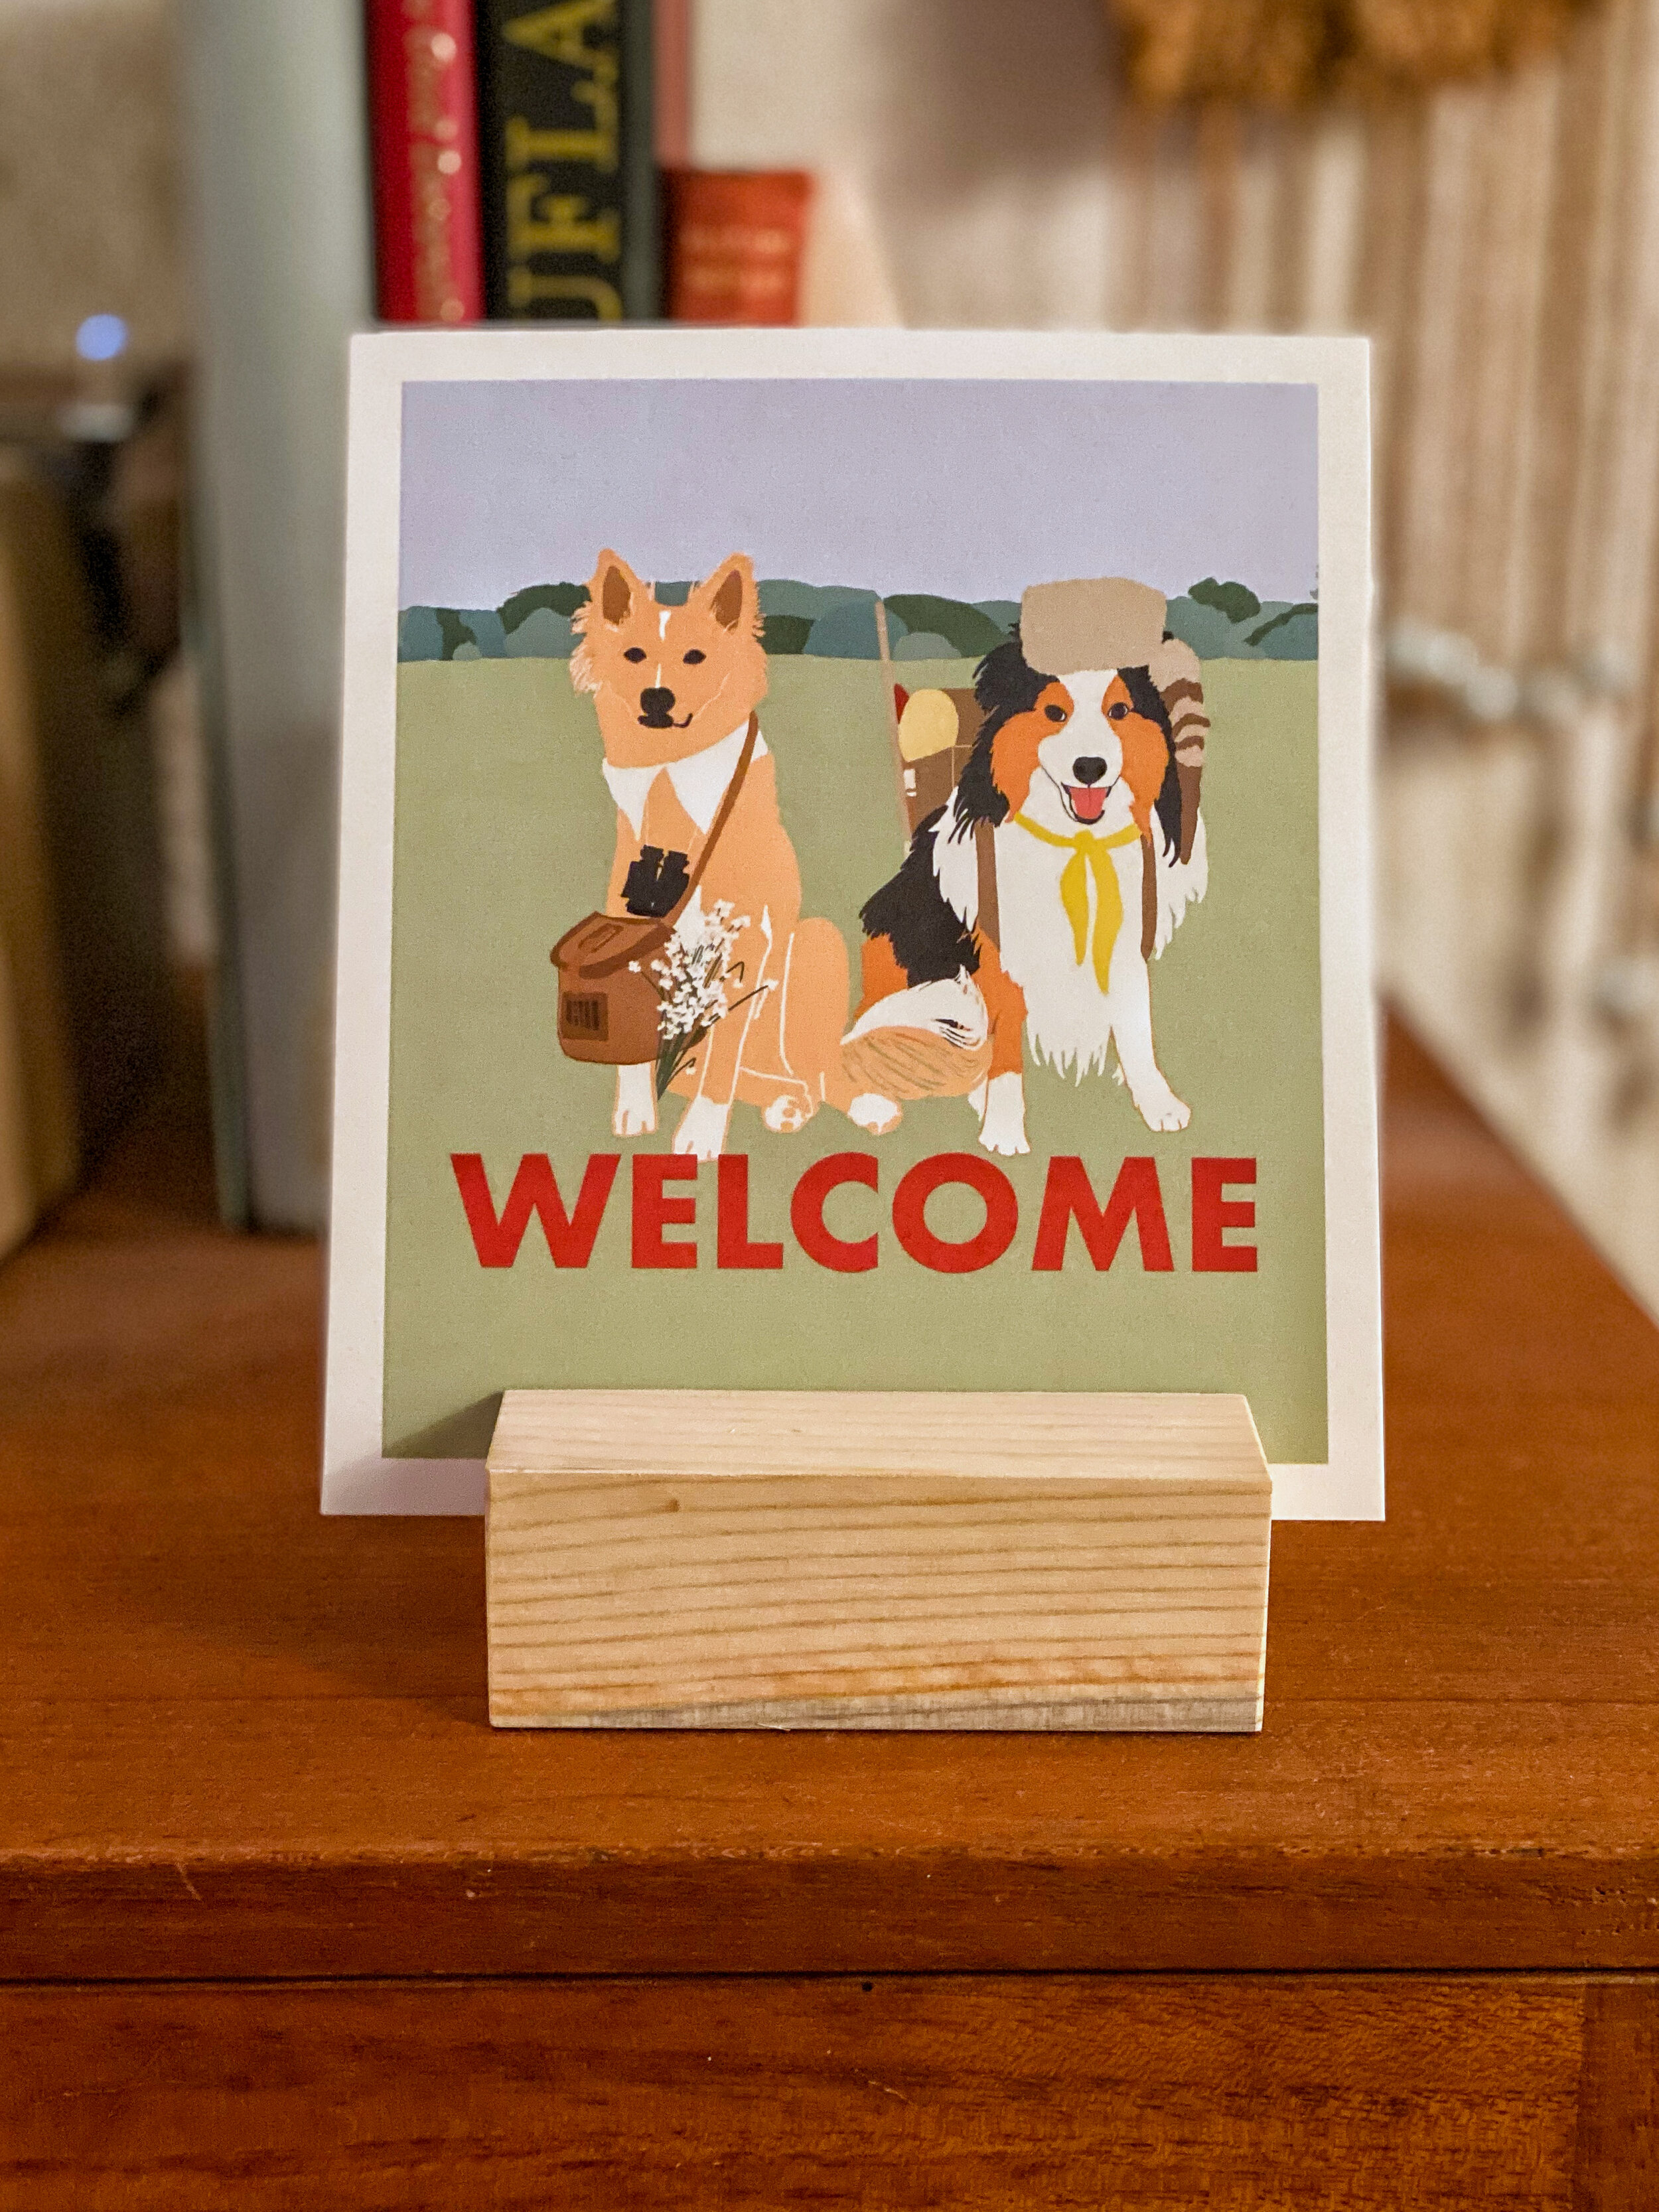
One detail that came through the home stretch this past week was my ATX Guest Guide cards that I designed with Procreate and ordered through Artifact Uprising.

I cannot wait to power through a lot of my DIYs and details this weekend. Here’s what’s on for the weekend:

Inspiration for the frame wall: A Beautiful Mess
DIY frame wall to highlight my anchor piece of art by Whitney Avra
DIY gossip bench - finish paint, upholstery and caning
DIY built-in library shelves and style the closet private phone booth/study
Install hardware details, clean-up any trim paint and doors that need work
Install lighting fixtures
Build the bed, move in furniture
Source and install final details that are still outstanding: duvet, window treatment, layered base rug
Can’t wait to show y’all what i’m up to with at least the as close to final as possible reveal next week, follow throughout the week on my Instagram.